
To review, yesterday's post explained how to make fabulous clipboard art. What is so great about it is it is quick and inexpensive to do. You can use ANY fabric you want to wrap around the clipboards, and if you really feel up to it, you could dress up the clipboards with ribbon, too. I chose not to do this for my wall art because it will be diplayed in the guest room and I wanted simple lines and simple fabric to match the room.
Are you ready for some pictures? Here we go!!

So here is what the finished product looks like (above). To utilize these clipboards, I placed pictures on the clipboards which was so easy and such a good idea to do because it holds great memories. You can replace the pictures with anything you like. Just think, you could display a favorite magazine article, your favorite recipes, parts of a novel, etc. And these would look great in a kitchen, too, for holding a recipe that you want to cook for the family....at least I think it would be a fabulous idea! :)
Remember yesterday I was heading out to Target with my little one to pick up some Command strips? Well, we got them and they did the job just fine.

Then I took a tape measurer and figured out where I wanted the clipboards to be hung on the wall. Both sides needed to look exact, so I measured a few times to make sure they would look identical on either side of the wall shelf.

Next, it was time to place the Command strips to the back of the clipboard. I used 3 Command strips for each clipboard. The strips came in a package of 12, which was perfect because I had 4 clipboards to place on the wall, and, if you do the math, using 3 on the back of each clipboard worked well. :) Even better, they only cost about $2.24 for each package and I bought two packages just in case I need more for another project. You never know! :)

Here are some pictures of what the clipboards look like in the room to the left of the wall shelf.
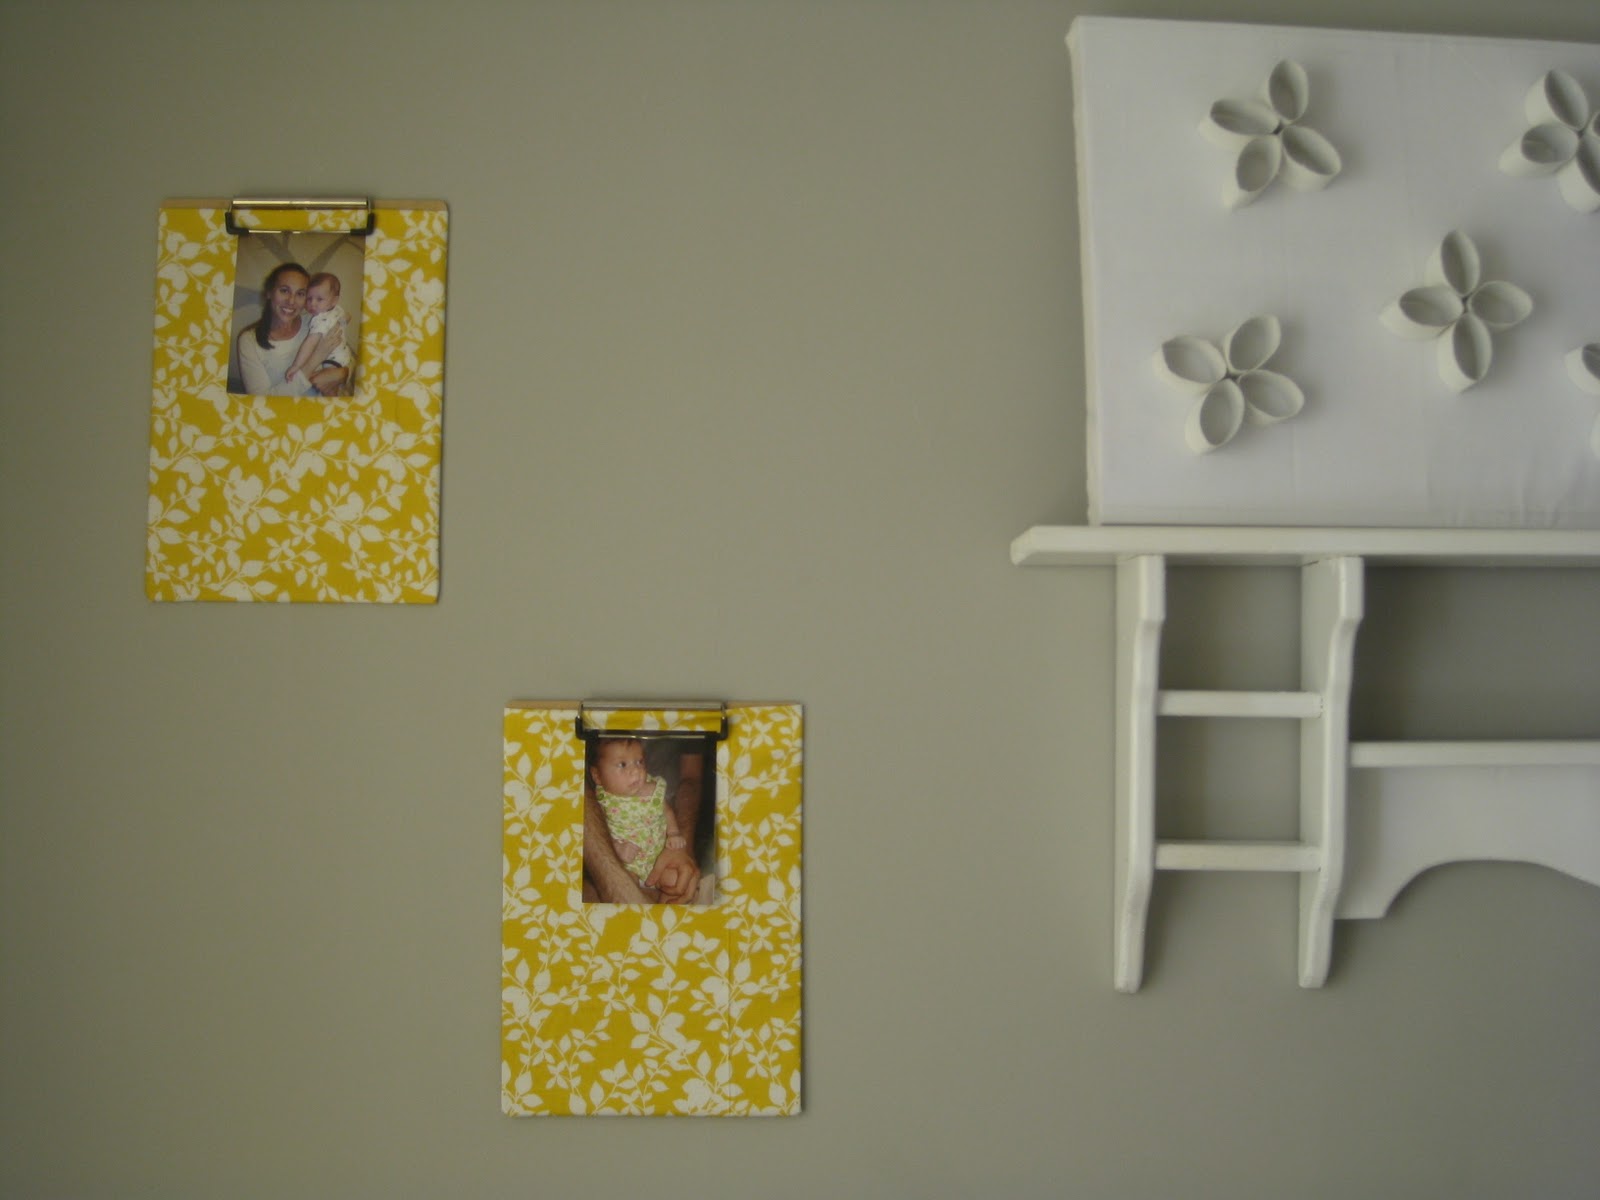

And here is another picutre of the clipboard art to the right of the wall shelf. This is what our guests would see when they first walk into the room.
Again, I will probably switch out the photos every now and then to give it some variety, but for now, these work well.

I will post either next week or the week after about the guest room makeover. I can also do a breakdown of costs for the items that we bought for the room and show more pictures.
Until them, happy Friday everyone!!
Thanks for stopping by!
No comments :
Post a Comment
I always love to hear from my readers! Thanks for taking the time to post an encouraging & uplifting comment.