
1. I didn't have enough fabric to cover all 4 chairs equally.
2. I am not sure I want to cover all of the dining room chairs with the same fabric that I used for the dining room bench. I may use a fabric I have at the house already and this newer fabric goes well with the floral print.
Anyways, I wanted to post some pictures of the process. Again, it is fairly easy to upholster a chair or bench and it is fun too!
Here are some photos of what I was up to yesterday when I was trying to complete this project.
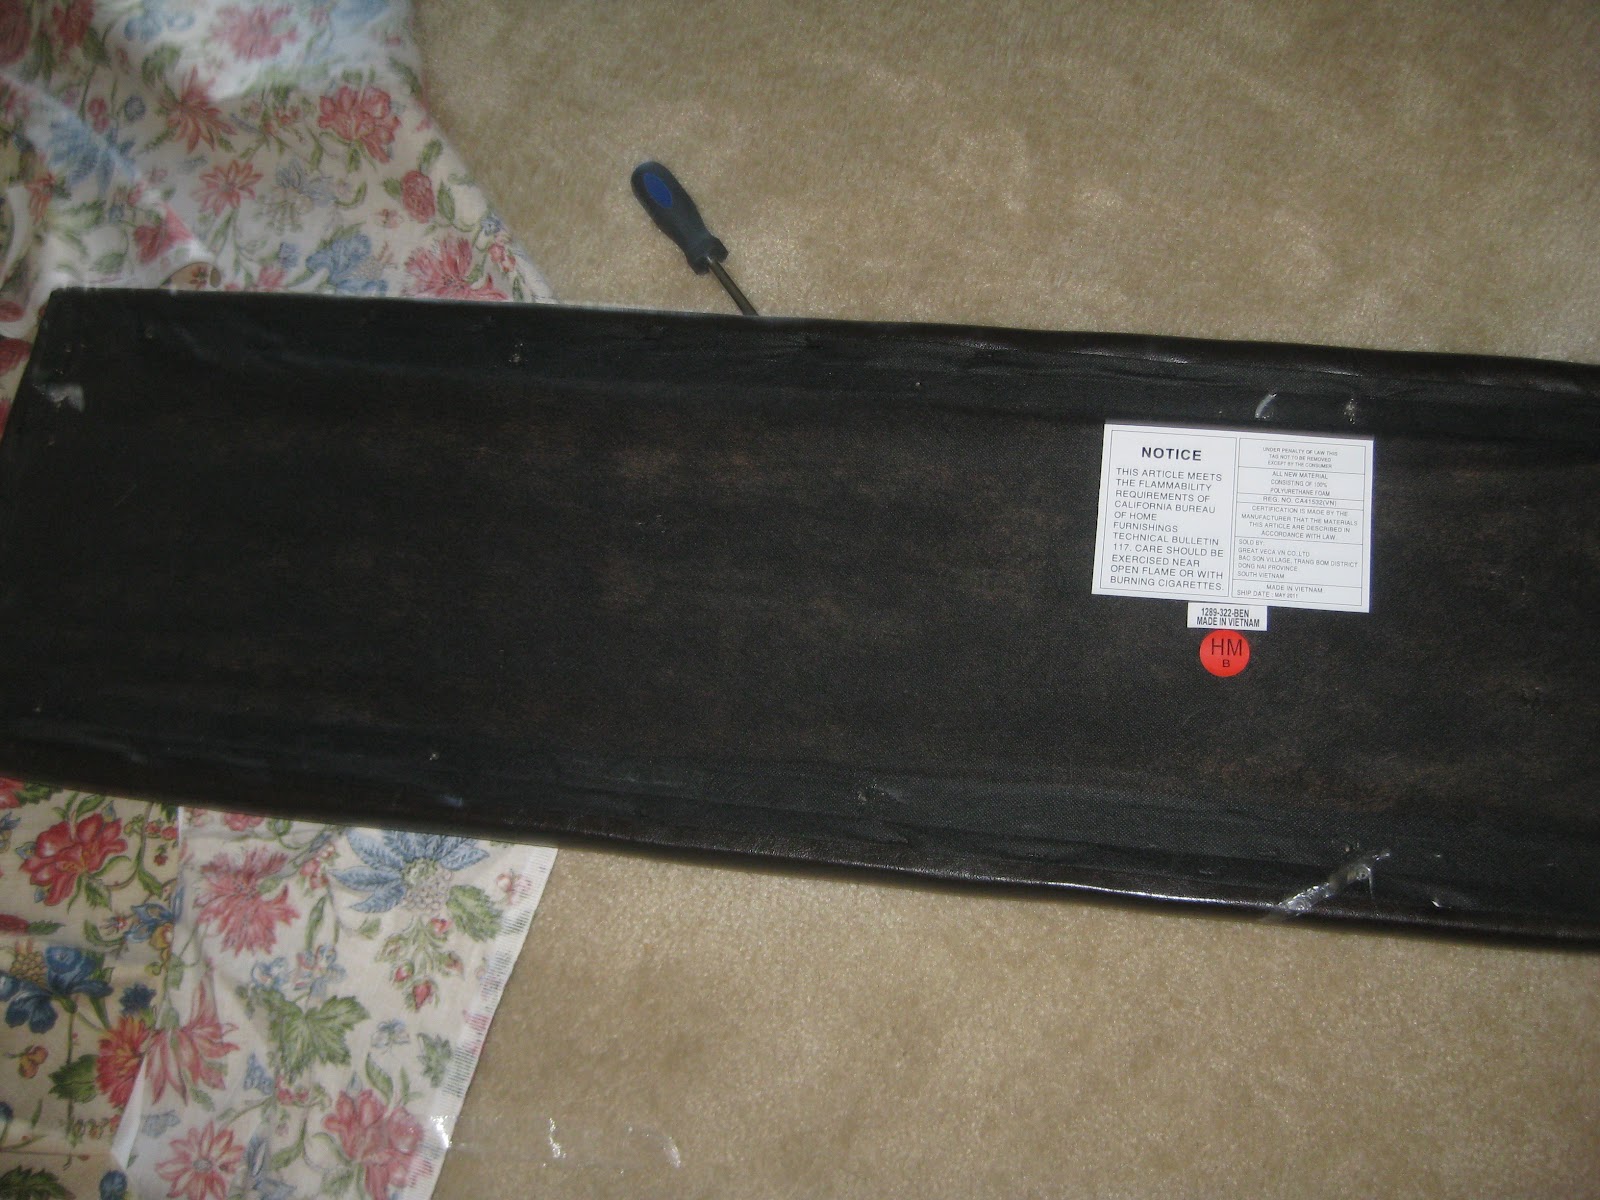
First, I needed to take a screwdriver and remove all of the screws from the bottom of the bench.

There were about 14 screws that needed to be removed in order for the bench to come apart.

Here is the bench after all of the screws were taken out. I was getting ready to measure how much fabric I needed to reupholster this beast bench but before I did that, I was able to snap a few photos of the before look.

Another quick picture of the bench before measurements.
Now I say I measured how much fabric was needed, but it wasn't like I took out a ruler for this part. :)
I just flipped the bench seat over to cover the fabric and pulled a little part of the fabric over the bench and began stapling the fabric onto the bench. Super easy!

Cutting the fabric after one side of the fabric was stapled to the bench.

In this picture, I needed to pull the fabric tightly over the other side of the bench so that I could staple it down into place.

Getting ready to staple the fabric into place.

I love my staple gun. It was so cheap to purchase and does a wonderful job helping me with my reupholstering addiction projects. :)

Here you can see the fabric after it was stapled on the longer sides of the bench. I still needed to staple the two shorter sides of the bench and the corners as shown.

Almost finished!!

Because stapling the corners can be a little tricky, I made sure to double check my corners and fold them down as tightly as possible so that they wouldn't come apart later on.

Folding the corner carefully.

And if you are careful enough, you should have a corner that looks like this below.

Stapling the fabric in place.

The "almost" finished bench looking purrttyyy, purty, purty!! :)

Now to complete this project, I needed to put all 14 screws back into the bench to make sure the bench seat stays in place.
This part was a tad bit tricky because I had to make sure that the screws were aligned with the holes in the bench. It took a few tries at first, but after the first few went in, I was good to go and the rest went in easy peasy!

Can't wait to flip this bench over to see what it would look like reassembled!

Here is the completed bench!! YAY! I love it and hubby loves it too! :)
For some reason, the bench looks much taller with the new fabric. Not sure why that is, but it turned out beautifully!

Have you reupholstered anything lately?
Thanks for stopping by!
No comments :
Post a Comment
I always love to hear from my readers! Thanks for taking the time to post an encouraging & uplifting comment.