

I have enjoyed creating projects for my girls...some they really love and others they quickly lose interest in. This is one of those projects that has given them hours of fun and when their friends come over, they can't get enough of it.
What is also so great about this project, is that it is multi-functional. It can be a cafe, a puppet theatre, a lemonade stand, a snack stand, etc. Whatever their little minds want it to be. I wish I could say this was an original idea of mine, but it is not. Dear Lillie shared this on her blog and so I gave it a try.
Here is what you will need:
1 piece of wood approximate 4' by 4'
2 pieces of wood approximately 2' by 4'
4 small hinges
a few nails or screws
paint or paint pens to write with
cardboard for signs
some long skinny boards for making signs (and for the little brackets)
fabric for curtains (optional)
2 hooks (optional)
1 tension rod (optional)
a jigsaw or access to one
Step One: Get your 3 boards. I purchased mine at Home Depot and had them cut some to size. I kept the leftover wood to make the ledge which you will see later on in this post.

Step 2: Paint each board. I painted them with SW Mindful Gray...this wouldn't be my first choice, but it is what I had on hand. If you have little helpers, this would be a great time to let them help with the painting process. My little girls loved this part.


Step 3: This is where you will want to use your jigsaw. I just traced out where I wanted the center cut to be made and cut away.


Step 4: Use your jigsaw and extra wood to cut a ledge for your center rectangle.

Step 5: Add some support with some little wood wedges. We had these on hand from a project we completed a year ago so saving pieces like that can sometimes come in handy.
I used a few screws we also had on hand to keep the wedges in place.


Step 6: Now it is time to add the hinges. I should've only bought one pack, so I ended up returning one since these packs come with 2 hinges already. These are about 1 inch thick which you really want because if you get ones any bigger, you could go through the wood pieces.

I put each one about one foot down from the top and the bottom.

Here is how this was looking after these parts were complete.

You could stop here and just leave your "cafe" like so, but I wanted to add more detail and character to it.

Step 7: I decided to add some feet to the front of the cafe so that it didn't tip. Before I put these in, my youngest actually managed to knock to board forward when she was standing behind it...so it was time to add these. I also used some left over scrap wood for the feet.

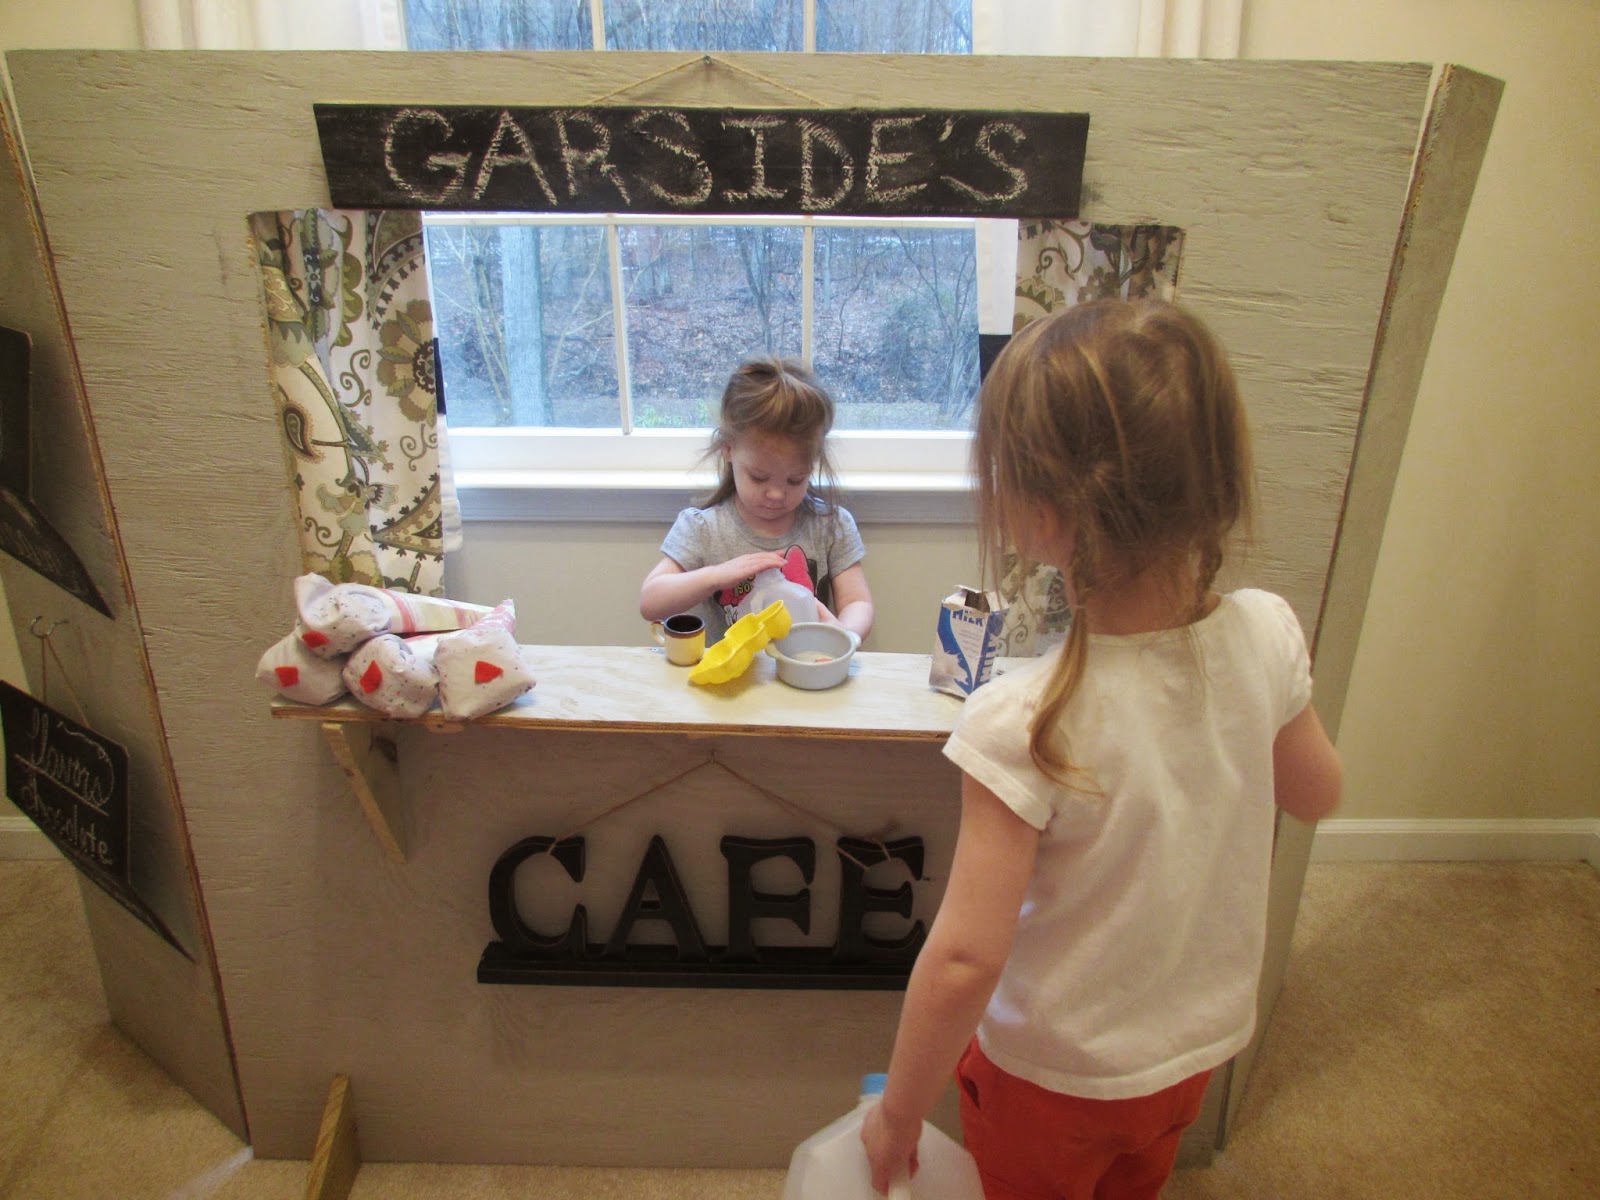
Step 8: Add some curtains and a tension rod if you would like. I also created some signs for the girls that they love. I used chalkboard paint so they can easily be changed up for whenever the girls want to play something new. For now, they are loving the cafe. It's their personal restaurant, as they like to say. :)


I also added some cardboard boxes to the other side of the cafe for extra storage.


And one other thing I love about this project is that because of the hinges, it can be easily transported to places when we travel and want to bring it with us so the girls can use it. We haven't done that yet, but I like that this is an option.
Thanks for stopping by and if you make one of these, let me know what you and your kiddos think of it!!
No comments :
Post a Comment
I always love to hear from my readers! Thanks for taking the time to post an encouraging & uplifting comment.